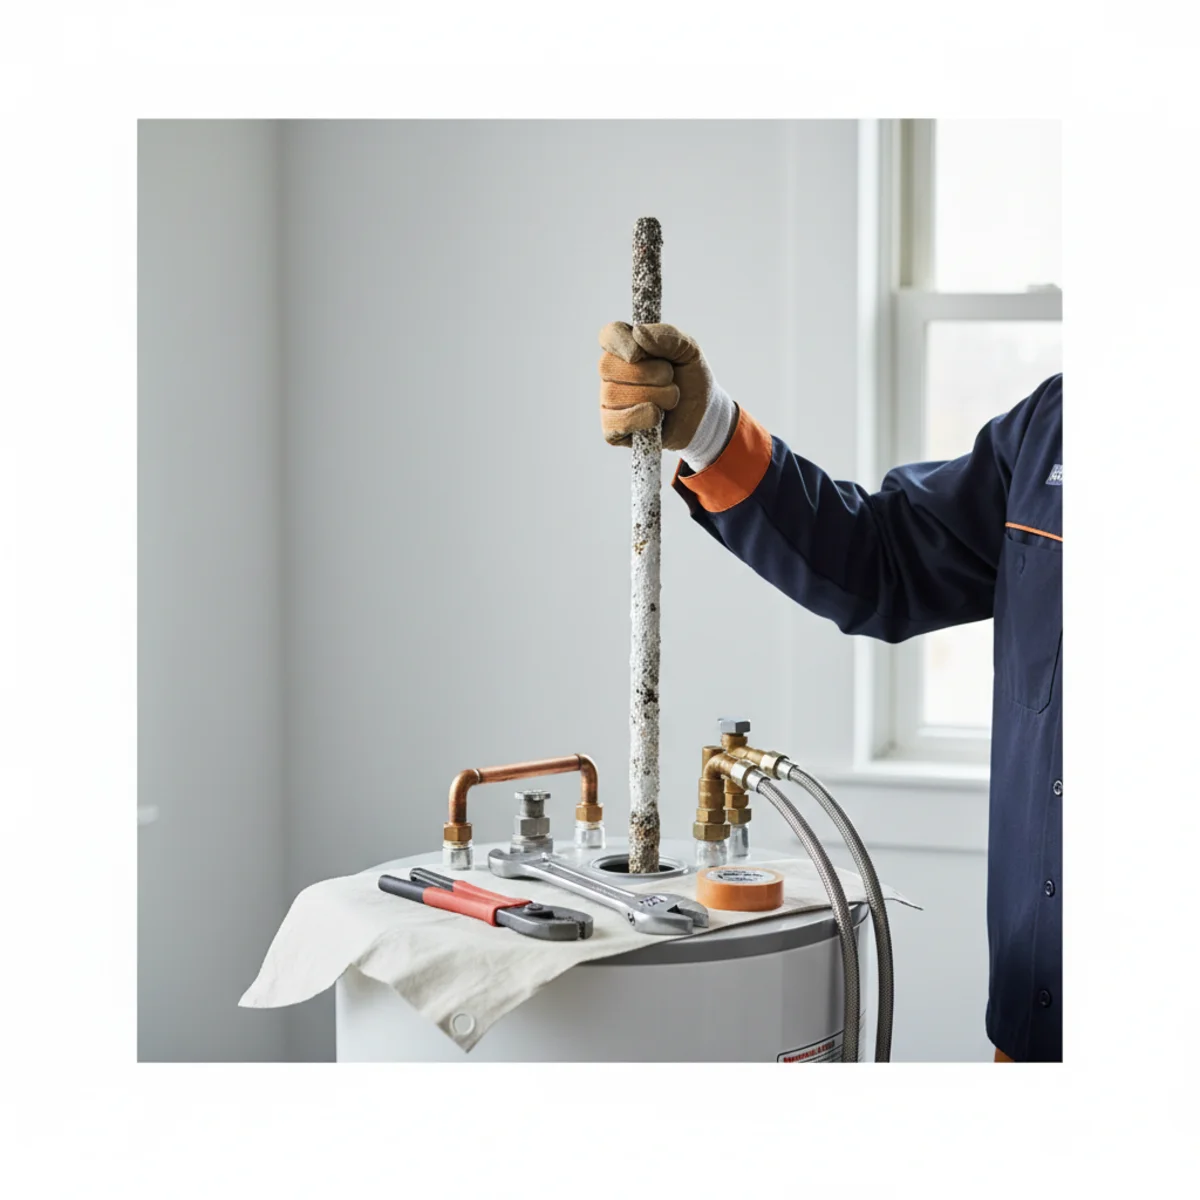
Sediment is the slow killer of tank water heaters. Minerals in your water — primarily calcium carbonate — settle on the bottom of the tank over time, forming a layer of insulation between the burner and the water. The burner runs longer, the tank works harder, and the bottom of the tank overheats. Efficiency drops. Tank life shrinks.
Flushing the tank once a year removes that buildup before it becomes a problem. In Rancho Cordova, where moderately hard water accelerates mineral deposit accumulation, annual flushing is not optional maintenance — it's what separates a 12-year tank life from a 7-year one.
This guide gives you the complete step-by-step process for draining and flushing a standard tank water heater — gas or electric. Plan on about an hour the first time; 30–45 minutes once you know the process.
What You'll Need
Gather these before you start. Nothing here is specialized — most homeowners already have it.
- Garden hose long enough to reach a floor drain, exterior, or bucket — at least 10 feet.
- Flat-head screwdriver (for some drain valves).
- Gloves — the water will be hot initially.
- Bucket — optional, for capturing the last sediment-heavy flush.
- Replacement drain valve if yours is the plastic factory type — these are prone to failure when operated after years of disuse.
Step-by-Step: Draining and Flushing the Tank
Follow these steps in order. Don't rush the temperature cooldown phase — burns from hot water are serious.
Step 1: Turn Off the Heater
For a gas water heater: turn the gas valve to the "pilot" setting. This keeps the pilot lit without the main burner firing. You can also turn the gas valve to "off" if you prefer — you'll just need to relight the pilot afterward.
For an electric water heater: turn off the circuit breaker for the unit at your electrical panel. Never operate the electric heating elements with the tank empty or partially drained — they'll burn out in seconds.
Step 2: Let the Water Cool
If the heater has been running recently, the water is near 120°F. Hot water scalds quickly. Wait 1–2 hours before proceeding, or run a hot-water faucet in the house for several minutes to bring in cooler water from the supply line.
You can skip the waiting period if you're flushing a cold unit (vacation return, new install) — just be cautious and check temperature at the drain hose before getting hands near the flow.
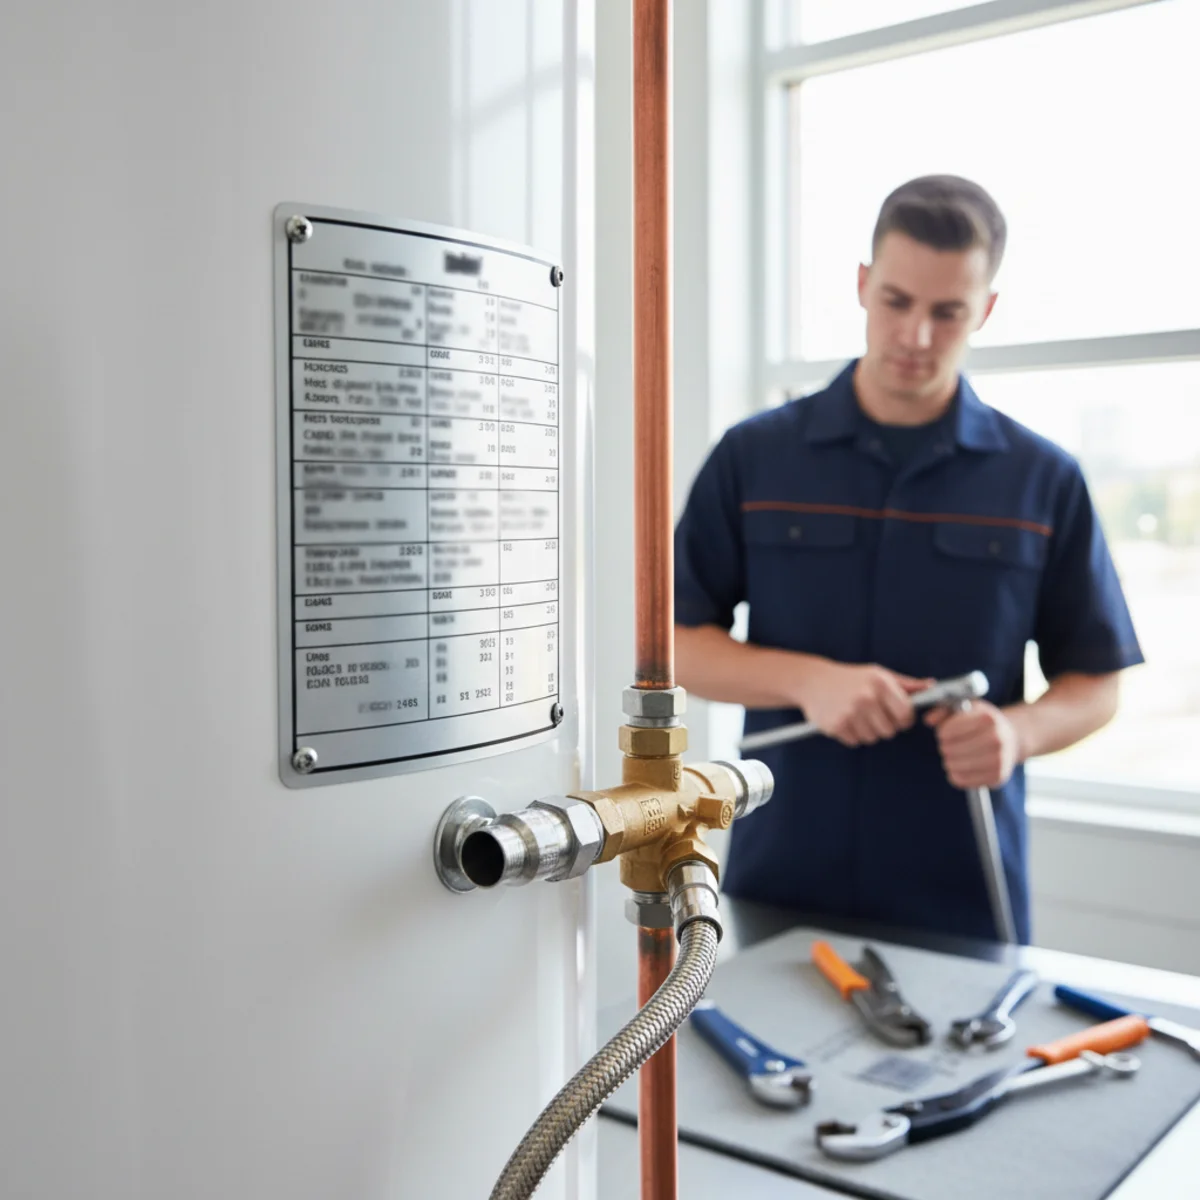
Step 3: Connect the Hose and Route It Safely
Thread a garden hose onto the drain valve at the bottom of the tank. Route the hose to a floor drain, outside the garage door, or to a large bucket. Make sure the discharge end is lower than the valve — water won't flow uphill.
Do not discharge hot water onto plants or grass. Do not discharge onto concrete in a closed area where steam will build up. Route it to a drain or outside.
Step 4: Open a Hot-Water Faucet
Open a hot-water faucet somewhere in the house — a bathroom or kitchen sink works fine. This prevents a vacuum from forming in the lines, which would slow or stop drainage. The faucet will run air and hiss as the tank drains — that's normal.
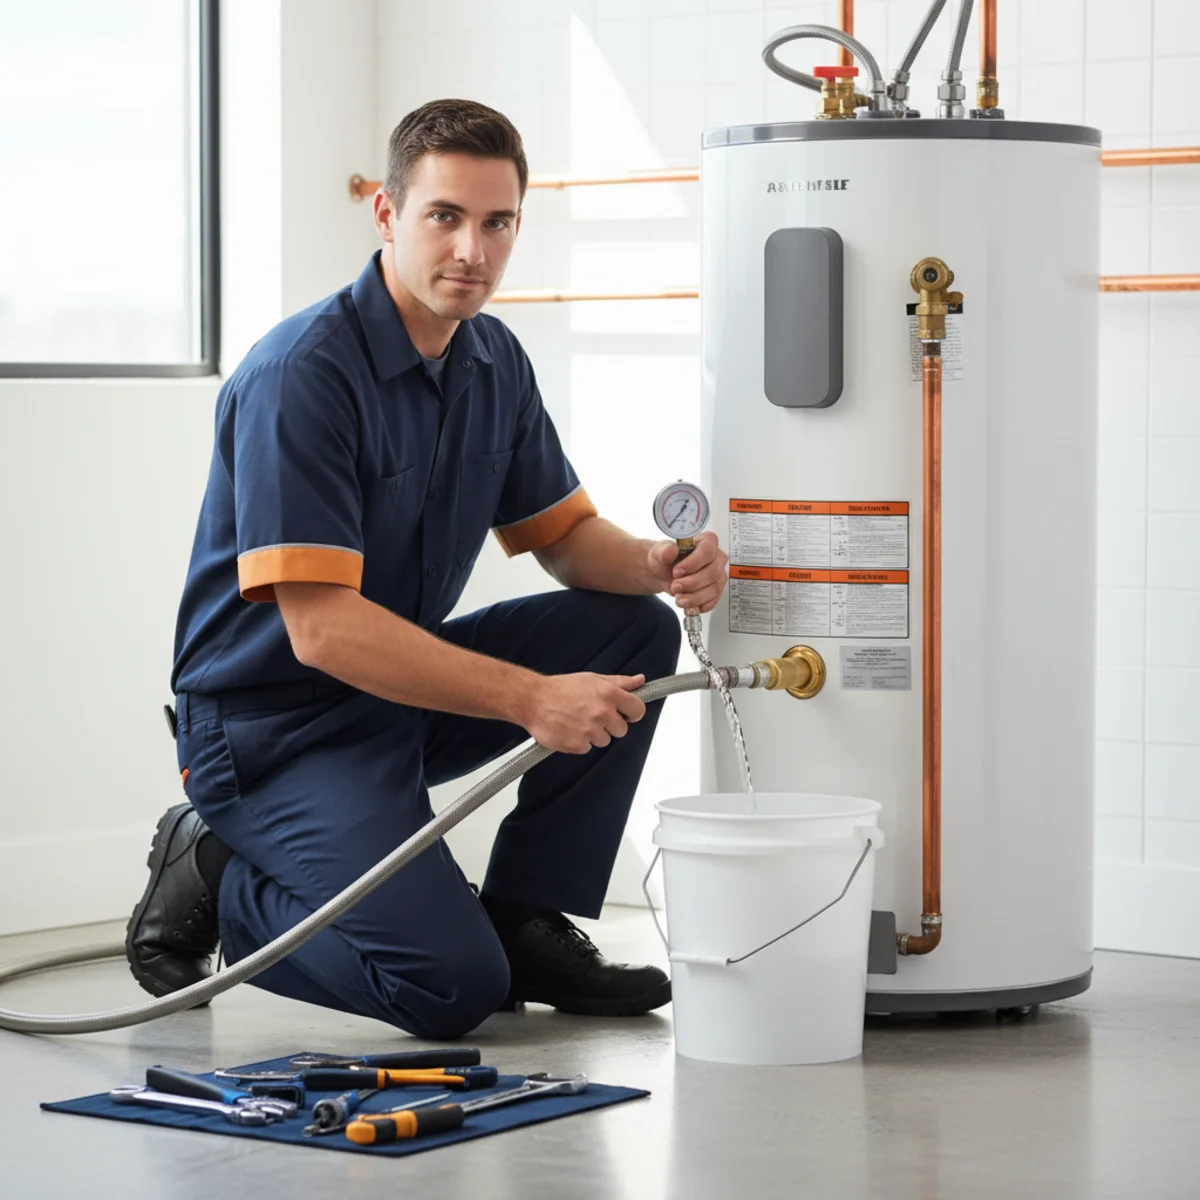
Step 5: Open the Drain Valve and Flush
There are two ways to flush: drain-only (turn off the cold supply, drain completely, then refill) or running-water flush (leave cold supply on while draining to stir up sediment). The running-water flush is more effective for removing sediment. We recommend it.
Open the drain valve — turn it counterclockwise if it's a hose bib type, or use a screwdriver if it's a slotted plastic valve. Leave the cold-water supply valve open. Water will flow through the tank and out the drain hose. Initially it may be very hot — don't touch the hose near the discharge end.
Step 6: Flush Until the Water Runs Clear
Watch the discharge at the hose end (or into a bucket). Initially the water may be brown, orange, or cloudy with sediment. Keep the flush running until it runs clear — typically 5–15 minutes. A heavily neglected tank may take longer.
If the water never clears after 20 minutes, the sediment layer is substantial. This is a sign the tank needed this maintenance years ago — it's still worth doing, but manage expectations on how much improvement you'll see.
Step 7: Close the Drain Valve and Restore
Close the drain valve firmly — not over-tightened, but snug. Remove the hose. Close the hot-water faucet you opened in Step 4. Allow the tank to refill with the cold-water supply open. You'll hear the tank fill; the faucet you left open will run water (not air) when full.
Once the tank is full, relight the pilot (gas) or restore the circuit breaker (electric). Set the thermostat back to your desired temperature. Hot water will be available again within 30–60 minutes depending on tank size.
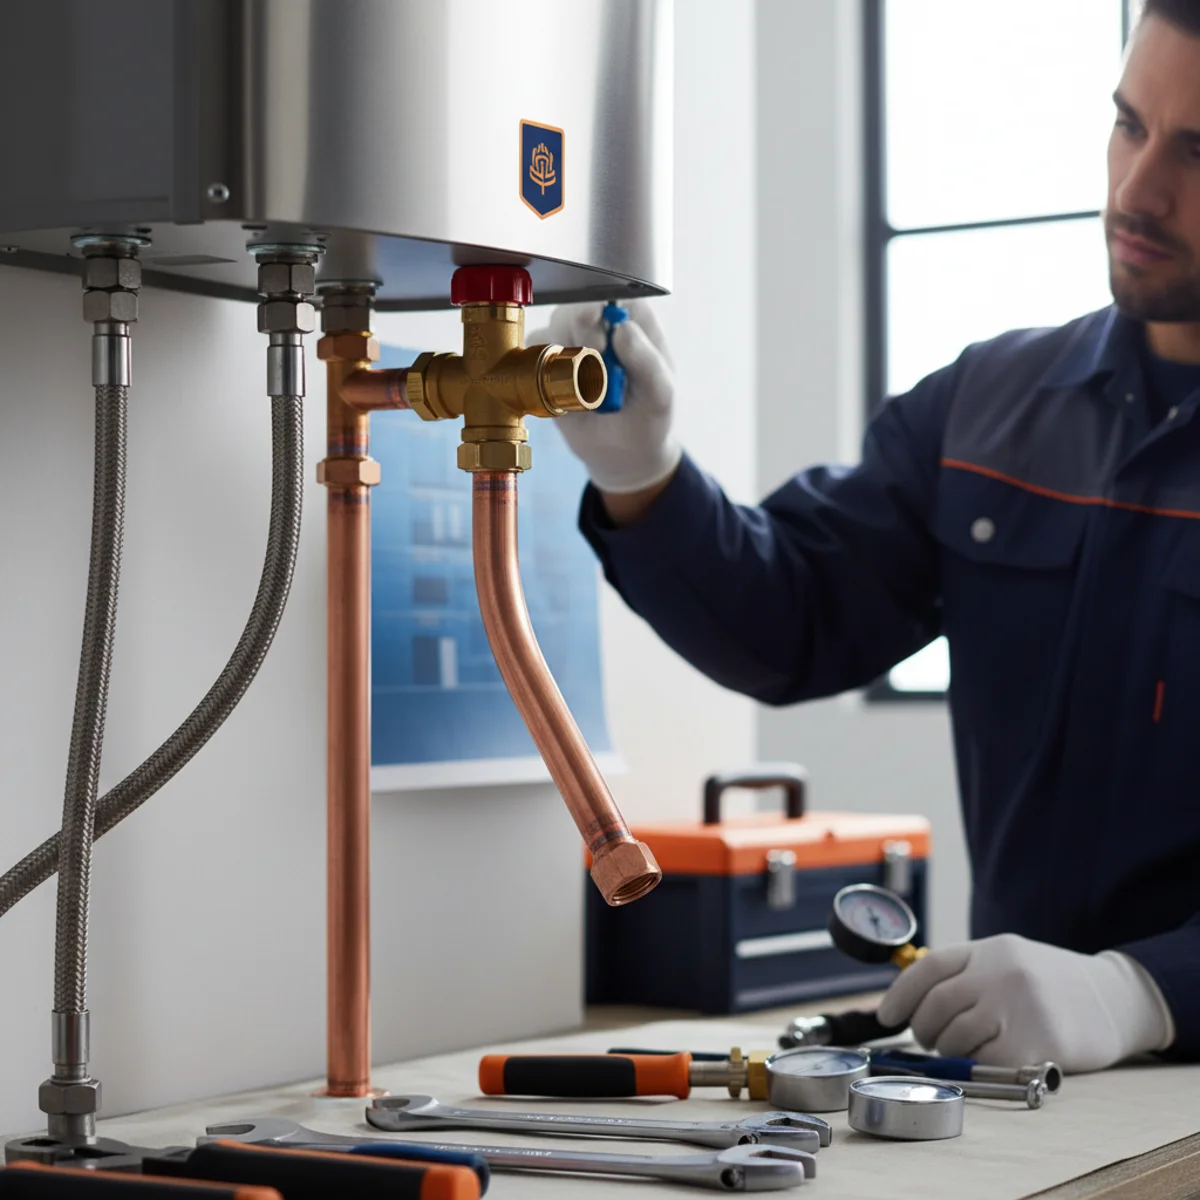
What to Do If the Drain Valve Won't Open or Leaks
Factory plastic drain valves are notorious for two problems: seizing after years of disuse, and leaking after being operated for the first time. If the valve won't budge with reasonable hand pressure, don't force it with a wrench — you can crack the fitting.
If it opens but leaks after you close it, the valve seat is worn. A leaking drain valve needs to be replaced. This is a minor repair for a plumber but requires briefly isolating the water supply. Keep a bucket nearby if you notice seeping after your flush.
Upgrading to a brass ball-style drain valve when you replace the plastic factory valve is worth the few extra dollars — they're more reliable and easier to operate for future flushes. Our water heater flushing service handles valve replacement as part of the visit when needed.
How Often to Flush in Rancho Cordova
Once a year is the standard recommendation for most areas. In Rancho Cordova, where the water supply is moderately hard, annual flushing keeps sediment from becoming a structural problem. Households with water softeners can sometimes extend to every 18–24 months, since softened water deposits fewer minerals.
Signs you're overdue: popping or rumbling sounds from the tank (sediment layer cracking under heat), noticeably longer reheat times, decreased hot water output, and visibly rusty or discolored hot water.
If you'd rather have a professional handle it, our water heater maintenance service includes flushing, anode rod inspection, T&P valve test, and a full visual safety check. We serve all of Rancho Cordova and surrounding areas. Contact us to schedule.
Talk to a Local Rancho Cordova Water Heater Pro
Whether you need a repair today or you're planning an upgrade, we'll give you a straight answer and an upfront estimate.
Frequently Asked Questions
Plan on 30–60 minutes including cooldown, flushing until clear, and refill time. A heavily sediment-laden tank may take longer to flush clear. The reheat cycle adds another 30–60 minutes before full hot water is available.
Yes — always. For electric units, leaving the elements energized while the tank is empty will burn them out in seconds. For gas units, firing the main burner with a low or empty tank can damage the tank lining. Set gas to pilot or off; turn off the electric breaker before draining.
The flush itself doesn't cause leaks, but operating the drain valve after years of disuse can expose a valve that was already marginal. Factory plastic drain valves on older units sometimes weep after being opened for the first time in many years. Keep a bucket handy and call a plumber if it doesn't seal cleanly after closing.
Generally yes, if the tank isn't already showing signs of corrosion (rust in the hot water, visible rust on the tank body). A flush won't reverse existing damage, but it removes sediment causing overheating and may extend the functional life by another year or two. We'll give you an honest read on whether it makes sense for your specific unit.
Common signs: popping, rumbling, or crackling sounds when the burner fires; noticeably longer reheat times; decreased hot water output; and cloudy or discolored water on initial draw. A brown or sandy discharge when you first open the drain valve confirms significant sediment accumulation.
The initial discharge from a sediment-heavy flush is not suitable for drinking or garden use. Once the water runs clear, it's clean water. You can safely discharge the clear-running flush water to a lawn or garden if it's cool enough — just avoid the initial sediment-laden output.
Written by the Water Heater RC Pros team
Practical, local guidance from Rancho Cordova water-heater installers — written for homeowners and kept current with California code. Have a question about your unit? Call (201) 277-9344.