Water on the floor near your water heater is never a good sign — and it rarely stays small. Depending on the source, a leak can saturate drywall, rot subfloor, or create a hazardous gas situation before you've had your morning coffee. Acting in the right order matters more than acting fast.
In Rancho Cordova, most water heaters sit in garages that double as storage rooms or workshops. That means a leak can damage a lot more than just the unit. The hard water we have here also accelerates corrosion, so a pinhole in the tank that looked minor last month can give way without warning.
This guide walks you through the correct emergency response — step by step — and then helps you figure out whether you're dealing with a fixable issue or a tank that needs to go. If you're already dealing with active flooding, skip to the numbered steps below.
The 8-Step Emergency Response
Run through these in order. Don't skip step one just because the leak looks slow — pressure behind a pinhole can change instantly.
- 1. Stay calm and keep others away. Water near a gas appliance or electrical panel is a slip-and-electrocution risk. Clear the area.
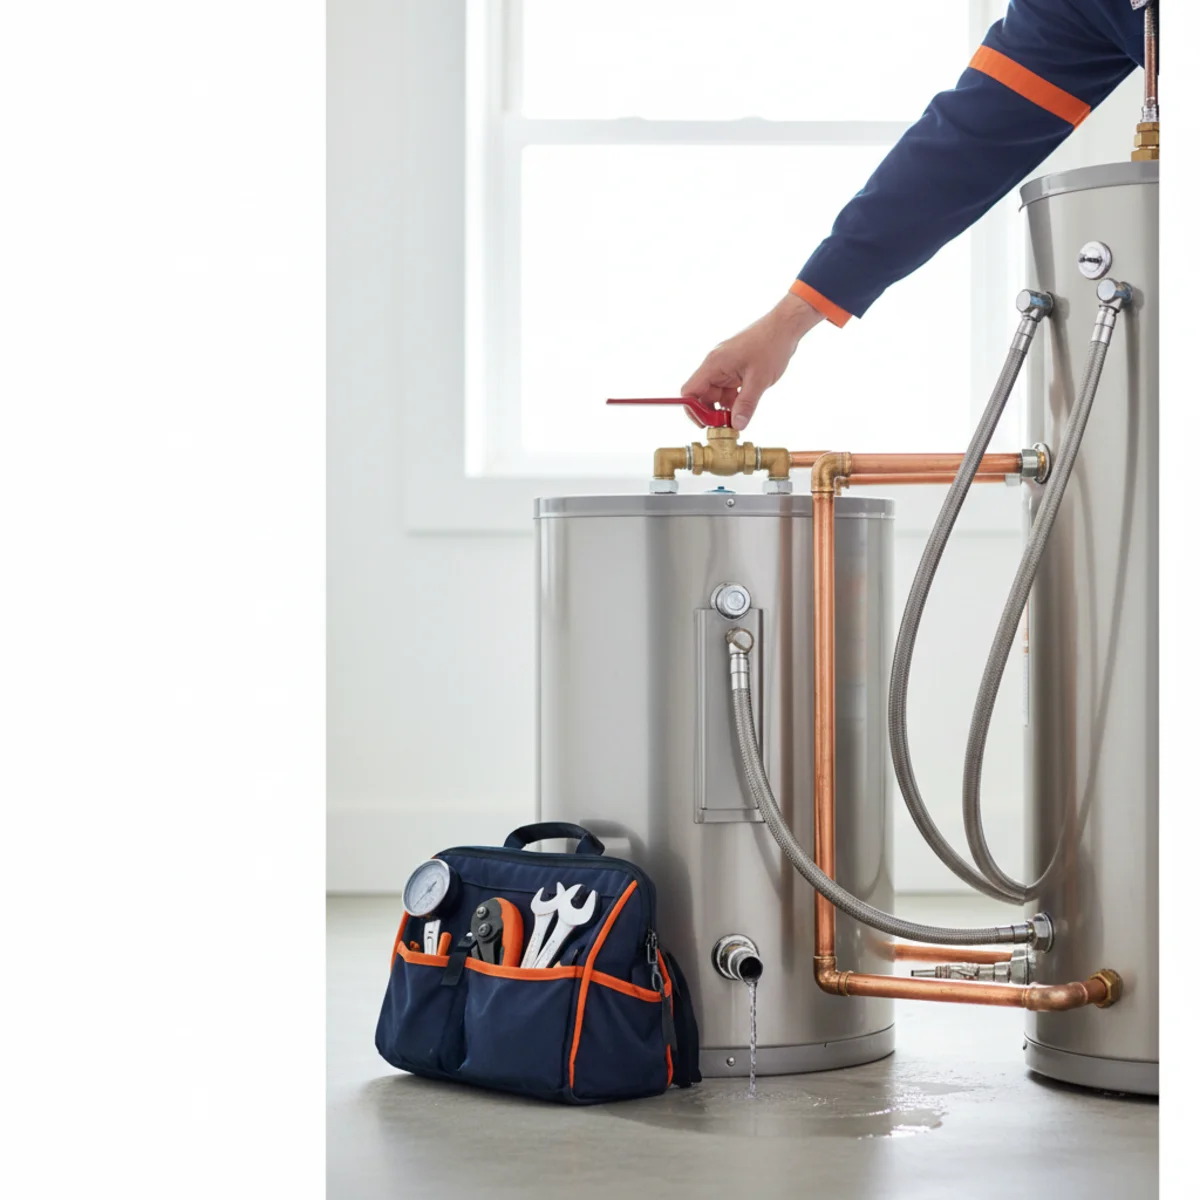
- 2. Turn off the cold-water supply. The cold-in shutoff valve is on the pipe going into the top of the tank. Turn it clockwise until it stops. This cuts the water feeding the leak.
- 3. Turn off the power or gas. For electric: flip the water heater's dedicated breaker in your panel. For gas: turn the gas valve knob on the supply line to the OFF or PILOT position. Do not skip this step.
- 4. Check for gas smell. If you smell rotten eggs or sulfur anywhere near the unit, stop everything. Leave the house, leave doors open as you go, and call your gas utility from outside. Do not touch any switches.
- 5. Open the garage door and ventilate the area. Gas water heaters need combustion air; an enclosed space after a disruption can accumulate gas traces even without a full leak.
- 6. Take photos before cleaning up. Document the standing water, the source of the leak, and any staining on walls or flooring. Your homeowner's insurance will want evidence.
- 7. Remove standing water if you safely can. Use towels, a wet-dry vac, or a mop. The faster you dry the space, the less mold and structural damage you'll face.
- 8. Call for emergency water heater service. A licensed tech can diagnose the source and tell you whether a repair will hold or whether replacement is the safer move. Don't restart the unit until a professional has cleared it.
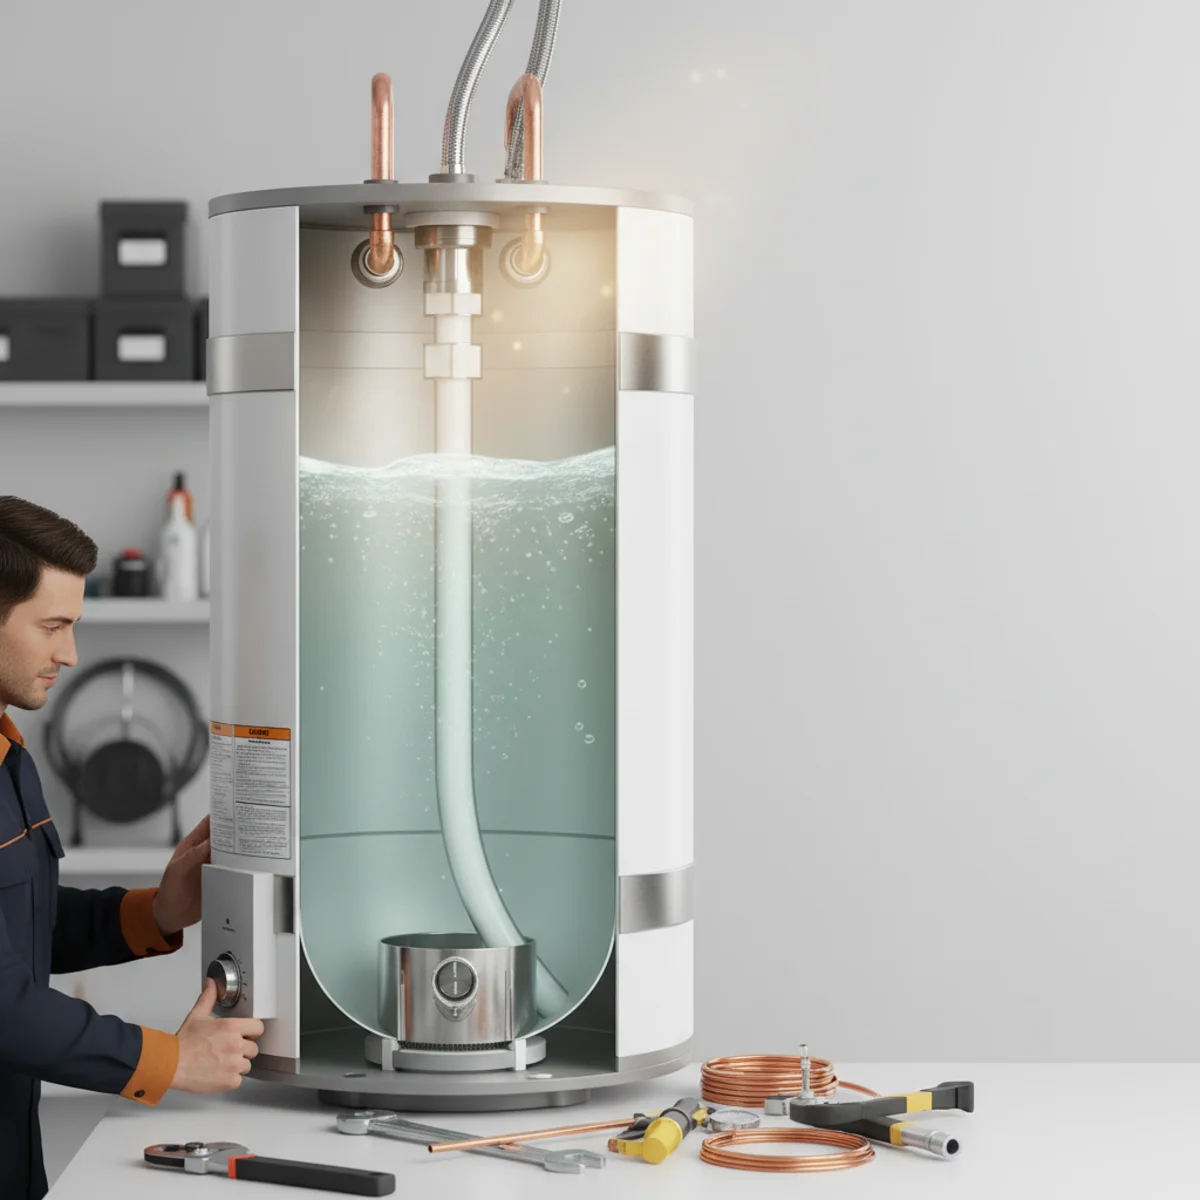
Where Leaks Actually Come From
Not every puddle means the tank itself has failed. Identifying the source before you panic — or before you accept a full replacement quote — can save you real money.
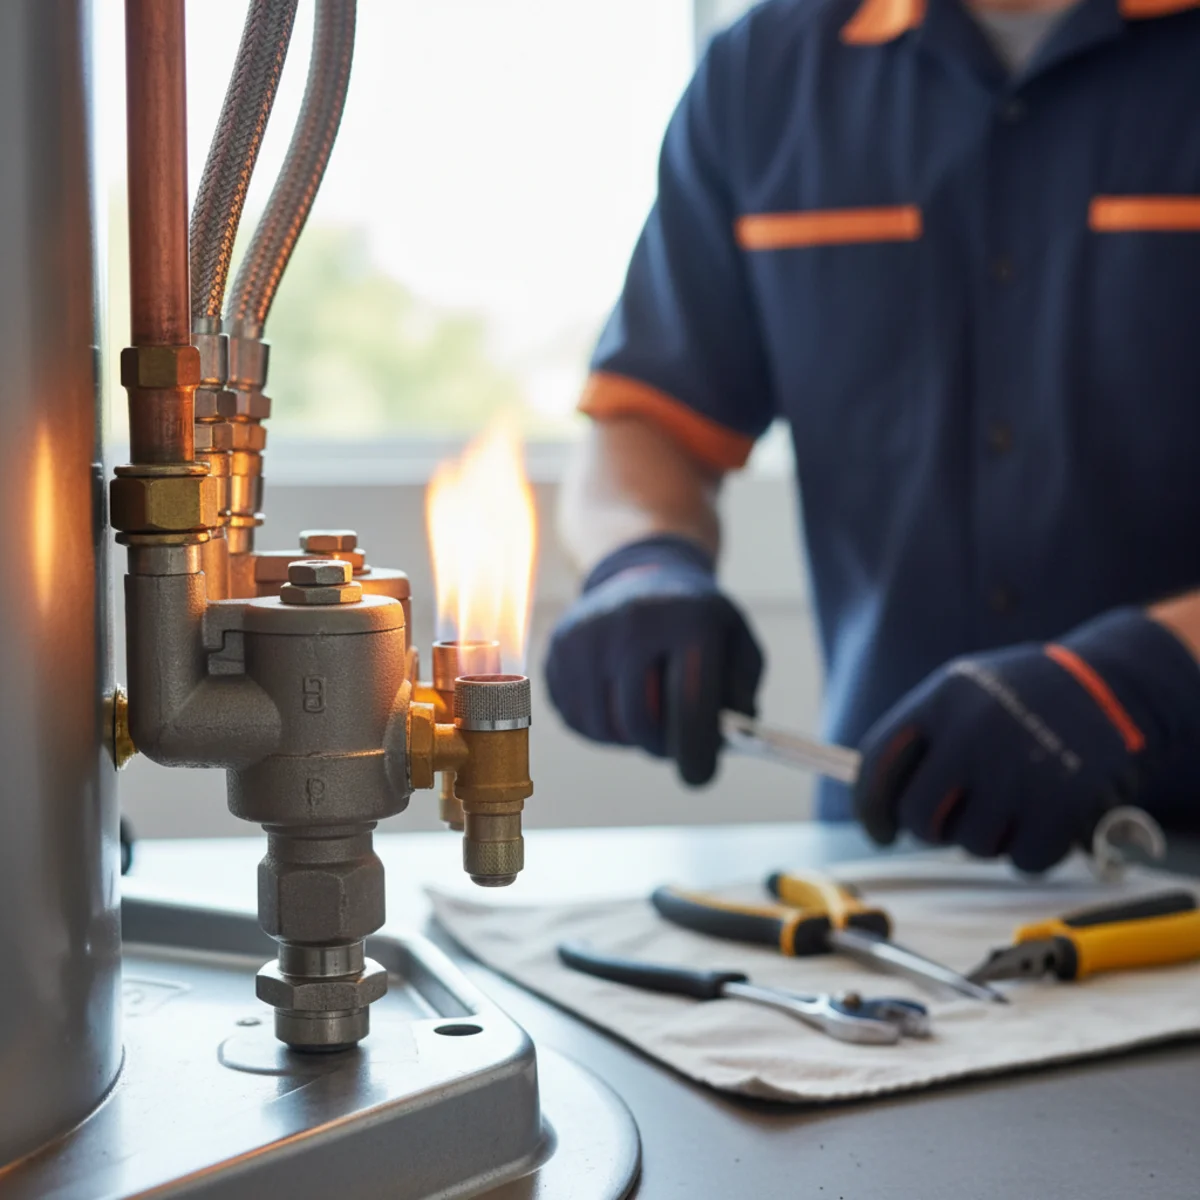
T&P Relief Valve
The temperature-and-pressure (T&P) relief valve on the side of the tank is designed to open if pressure or temperature gets dangerously high. A small drip from the discharge pipe usually means the valve was doing its job — or it's failing and stuck partially open. Either way it needs attention. A dripping T&P valve is not something you tape up or ignore.
Drain Valve at the Bottom
The plastic or brass drain valve near the base of the tank sometimes weeps if it hasn't been exercised in years. A replacement valve is inexpensive. If the valve body itself is cracked, that's still a minor fix — but it should be done by a plumber, not patched with tape.
Tank Corrosion
Rust-colored water, a tank that's more than 10–12 years old, or a bulge on the side of the tank all point to internal corrosion. Rancho Cordova's hard water — we typically see hardness levels between 14 and 20 grains per gallon from Sacramento County Municipal Water Services — accelerates the process when sediment builds up and the anode rod is depleted. A corroded tank cannot be repaired. It needs replacement, and it should be treated as urgent.
Inlet/Outlet Connections
The threaded fittings where the cold-in and hot-out pipes connect to the tank can develop slow leaks over time, especially if dissimilar metals were used without dielectric fittings. These are often fixable without replacing the tank. Our leaking water heater repair team carries the fittings to handle these on the spot.
When to Replace vs. Repair
The repair-or-replace question comes down to three things: where the leak is coming from, the age of the unit, and whether the tank itself has been breached.
| Leak source | Age of unit | Typical outcome |
|---|---|---|
| T&P valve dripping | Any age | Valve replacement — repair |
| Drain valve weeping | Any age | Valve replacement — repair |
| Inlet/outlet fittings | Under 10 years | Fitting repair — usually repair |
| Tank body rusting/bulging | Any age | Full tank replacement needed |
| Any leak | 12+ years / hard water | Strongly consider replacement |
Sacramento County Code Considerations After a Leak
If a leak event leads to replacement, Sacramento County requires a permit for a new water heater installation. The replacement must meet current California Plumbing Code requirements — including a properly installed T&P discharge pipe, seismic strapping (required statewide since 1991), and an expansion tank if you're on a closed plumbing system.
You don't need to memorize those details today. But know that a like-for-like swap is not always code-compliant if the existing setup was grandfathered. A licensed installer handles the permit and inspection so you don't inherit liability.
We serve homeowners across Rancho Cordova and the broader Sacramento area. If you're unsure whether your situation needs immediate attention or can wait for a next-day call, reach out at /contact and we'll give you an honest read.
Preventing the Next Emergency
The most predictable water heater leaks are the ones that go unnoticed until they become floods. An annual inspection — flushing sediment, checking the anode rod, testing the T&P valve — catches failing components before they fail completely.
In hard-water areas like Rancho Cordova, annual flushing is especially important. Sediment insulates the bottom of the tank and forces the burner to run hotter and longer, which stresses the tank lining over time. A water softener can significantly extend tank life, but it doesn't eliminate the need for maintenance.
- Set a calendar reminder for annual sediment flushing.
- Test the T&P valve lever once a year — it should open and snap back cleanly.
- Check the area around the unit monthly for any moisture or mineral deposits.
- Know where your cold-water shutoff valve is before you ever need it.
Talk to a Local Rancho Cordova Water Heater Pro
Whether you need a repair today or you're planning an upgrade, we'll give you a straight answer and an upfront estimate.
Frequently Asked Questions
Not necessarily. A leak at the drain valve is often a simple valve swap. A leak from the tank body itself — especially if the unit is over 10 years old or you see rust staining — usually means replacement. A tech can tell you within minutes of looking at it.
It can be. Standing water near a gas appliance or electrical connections is a shock and fire risk. A gas leak combined with an ignition source is more serious. Follow the emergency steps above and don't try to restart the unit until it's been inspected.
We prioritize active leak calls. Call (201) 277-9344 and let us know it's an emergency — we'll give you an honest ETA. In the meantime, the shutoff steps above keep the situation from getting worse while you wait.
Policies vary widely. Most cover sudden, accidental water damage to the home structure, but not the appliance itself. Gradual leaks — where damage built up over months — are often excluded. Document everything and call your insurer as soon as the immediate emergency is handled.
If you replaced a drain valve or tightened a fitting yourself and you're confident the source is resolved, you can cautiously restart. For anything involving the tank body, the T&P valve, or gas connections, have a licensed tech verify it first.
Written by the Water Heater RC Pros team
Practical, local guidance from Rancho Cordova water-heater installers — written for homeowners and kept current with California code. Have a question about your unit? Call (201) 277-9344.